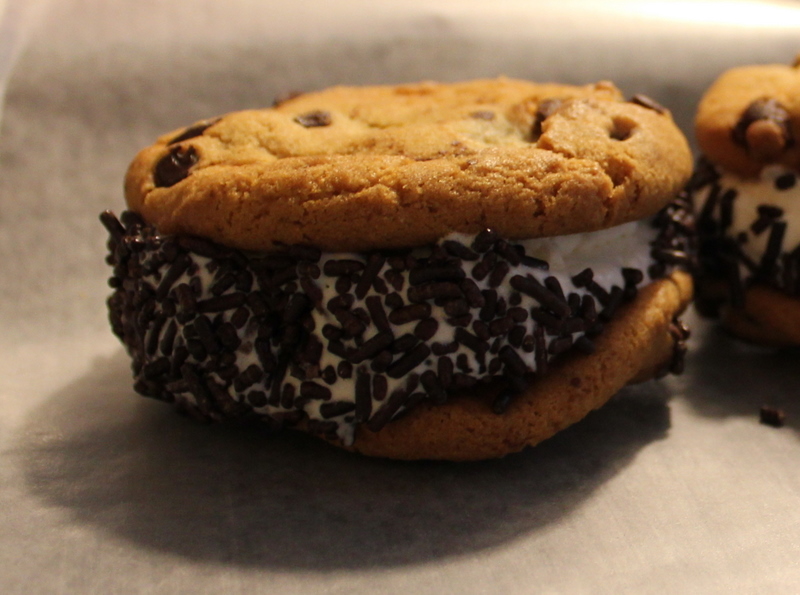
“To cake or not to cake, that is the question.”
When I think of a wedding, immediately what comes to mind (in this order) is – dress, cake and the electric slide. Knowing that people expect to have their cake and eat it too at every wedding-related event (leading up to and including the wedding), we wanted to do something a bit different for the bridal shower. Knowing that the shower was going to be outside in my sister’s backyard, and taking into consideration the unpredictability of heat/humidity in Southeastern Pennsylvania in late August, we wanted a dessert that would be cool and refreshing.
Without even missing a beat, we all unanimously decided that chipwiches would be a suitable dessert to serve to the guests of the shower. Not only would it be an icy and refreshing treat, we also wouldn’t have to buy extra silverware or serving containers to serve the chipwiches in! They are the perfect, self contained dessert, and can be made into any combination of your choosing. Instead of sitting the chipwiches out on a table to bake in the sun, we decided we would hold off on the distribution of these dairy delectables until my sister was about half way through opening presents – that way they could function as both a sweet ending to the meal, and a distraction for those counting the presents left in the queue.
 Time was not exactly our friend when it came to preparing the chipwiches. While we would have liked to have been able to bake our own cookies for use in the sandwiches, grandfather time had other ideas for us and we opted for store bought cookies (although one could argue that the cookies were homemade since my aunt does work at the bakery where they were made). There aren’t too many steps involved in making your own ice cream sandwiches, but I thought I’d put together a short how-to so I could pass along a few of my tips and tricks.
How to Make Chipwiches
What You Will Need
- 2 dozen cookies – will make 12 ice cream sandwiches
- 1/2 pint ice cream
- jimmies (a.k.a. sprinkles)
- ice cream scoop
- bowl of warm water
- cookie tray lined with single sheet of wax paper
- wax paper
- large, freezer safe ziploc bag
Steps to Make Your Own Ice Cream Sandwiches
1) Procure cookies and ice cream of your choosing. We went with the following combinations – Sugar Cookies with Strawberry Ice Cream, Chocolate Chip Cookies with Vanilla or Chocolate Ice Cream and Peanut Butter Cookies with Vanilla or Chocolate Ice Cream. The sky really is the limit here – I was thinking Snickerdoodles with Caramel Swirl Ice Cream would have been devine…
 2) Set up a workflow for ice cream sandwich construction. You’ll want a bowl of warm water large enough for the ice cream scoop to fit into. Place the ice cream scoop into the water after each scoop – this will not only make sure you don’t mix flavors together, but makes it infinitely easier to scoop the ice cream out of the container. Place one scoop of ice cream on one cookie, than use another cookie to apply pressure and force the ice cream out to the edge of the cookie. If you want to get artistic you can then smooth the edges of the ice cream around the cookie. Then sprinkle the outside with sprinkles, chocolate chips or whatever you please!
3) When the chipwich is completed place it on a cookie sheet lined with a single sheet of wax paper. When the cookie tray is full, place the tray into the freezer for 20-30 minutes to freeze.
4) Once the chipwiches are cold – they don’t need to be completely frozen – remove the tray from the freezer and wrap the individual chipwiches in wax paper. Place the chipwiches into a ziploc bag to store in the freezer until you are ready to eat them!

