 If you’re a regular reader of Heart Handmade Blog you already know that my “little” sister got married a few weeks ago. Now that all the pictures have been viewed, gifts opened and revelers returned home, I figure I’ll do a post a week highlighting the different ways we worked to make the wedding truly a handmade event.
First things first. We knew from the beginning we wanted to go a slightly different route for the bridal shower. From experience we knew how boring and monotonous a few hours spent watching someone opening gifts can be, and we wanted to create an event that was enjoyable for everyone (even if they weren’t being showered with presents). I’ll go into the specifics of our shower in another post, but today I’d like to focus on the gifts we gave out as a thanks for coming. We knew we wanted the bridal shower favor for our lovely family/friends to be something memorable, unique and functional. Nothing is worse than leaving a party with a useless trinket suitable for nothing other than next year’s yard sale. With the “function over fashion” idea in mind we brainstormed and all decided to put together a favor that our guests would be able to use.
How To Make a Cookie Mix Favor in a Mason Jar
Time:
Depends… How many people are you inviting? (It took us about 4 hours to assemble 50 jars and decorate them with the ribbons/fabric/tags)
 Materials:
For each jar you’ll need one of each of the items listed below – unless other measurements are given.
- Mason Jar
- Flour (1 3/4 c.)
- Baking Soda (3/4 tsp.)
- Salt (3/4 tsp.)
- Granulated Sugar (1/2 c.)
- Chocolate Chips (1 1/2 c.)
- Brown Sugar (3/4 c.)
- “Love Beyond Measure” measuring spoon set
- Ribbon
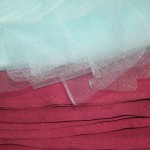
- Fabric – two different colors to cover lid (we used tulle and cotton fabric that matched the wedding colors)
- Recipe Tag
- Rubber band
Cookie Recipe to Put Into Mason Jars (UPDATED, IMPROVED RECIPE!):
1 3/4 cups all-purpose flour
3/4 teaspoon baking soda
3/4 teaspoon salt
1 1/2 cups semi-sweet chocolate chips
3/4 cup brown sugar (packed)
1/2 cup granulated sugar
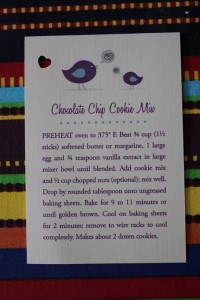
We made the tags ourselves (the design was done by my brother-in-law) and printed them at home.
“Chocolate Chip Cookie Mix
PREHEAT oven to 375° F. Beat ¾ cup (1½ sticks) softened butter or margarine, 1 large egg and ¾ teaspoon vanilla extract in large mixer bowl until blended. Add cookie mix; mix well (you could add nuts too here if you wanted). Drop by rounded tablespoon onto ungreased baking sheets.
Bake for about 10 to 11 minutes or until golden brown. Cool on baking sheets for 2 minutes; remove to wire racks to cool completely for another 15 minutes. Makes about 2 dozen cookies.”
Steps:
1) Set up cookie mix ingredients for placement into the mason jars. My major tips to pass on after making over 50 of these jars are:
- set up an assembly line
- have the right tools for the job
One problem we ran into early in the assembly process was that the opening to the jars was smaller than the size of the measuring cups. Therefore, when you would dump the measuring cup ingredients into the mason jar you would lose some of the ingredient, which isn’t exactly the best thing when baking. One way around this unintentional loss of ingredients is to use a funnel to help you to put the ingredients into the jar. It is also a good idea to dump each ingredient into a large bowl from which you can work from, instead of trying to deal with the ingredients in their individual packages.
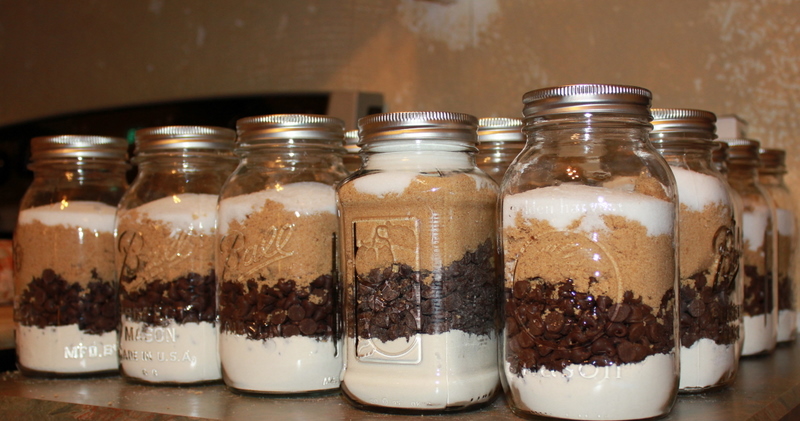
2) Put the cookie ingredients into the mason jars. If everything is in it’s own large bowl with the correct tool (knife to level the flour, funnel to dump in the sugar, etc.) this part goes fairly quickly. As you can see in the jars below – the bottom layer is the flour and baking soda. The first middle layer is the chocolate chips, second middle layer is the brown sugar and the top layer is the sugar. We had a varied assortment of mason jars to fill, but found that the widemouth jars were the easiest to work with and looked the best once completed. Keep in mind ANY mason jar will work, but if you don’t have any laying around/people willing to donate jars to you, I’d purchase the widemouth jars to save yourself a bit of hassle.
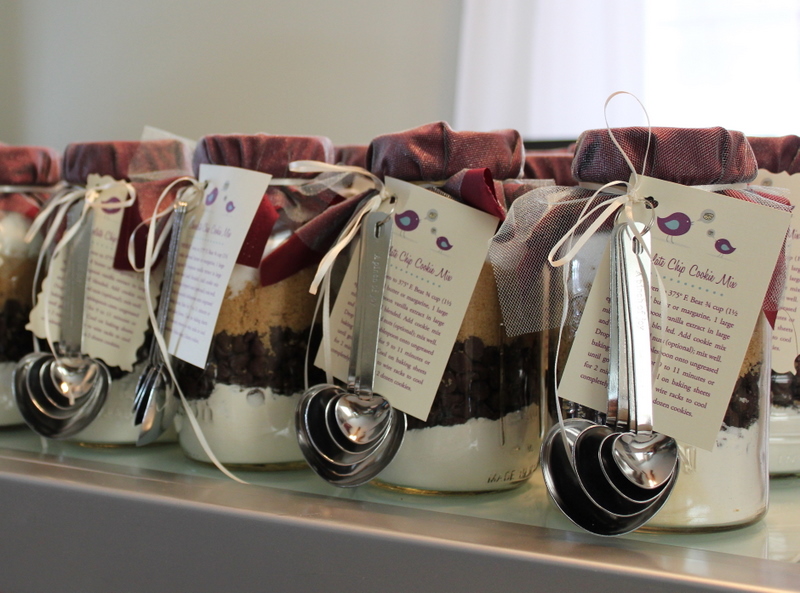
3) Place fabric on top of jar. We did not use any glue to attach the fabric to the tops of the jars because we wanted people to be able to re-use the jars as they pleased after making the cookies; think – flower vase, pencil jar, etc.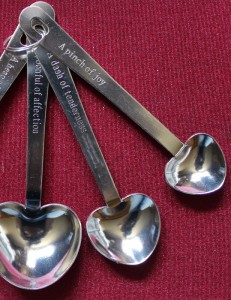 To put the fabric on the jars we simply cut out squares from the two different types of fabrics. To keep the fabric on the top of the jar we used a rubberband to hold the fabric in place.
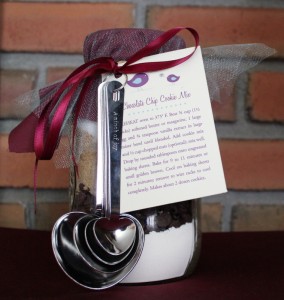
4) Use ribbon to attach measuring spoons and tag. With the fabric held into position with a rubber band we then used a ribbon to attach the measuring spoons and recipe tag to the jar. The spoons are pretty heavy so you’ll have to work to figure out the best place for them to hang without drooping too much. You can get pretty creative with the bows, but seeing as it was about 11 pm by the time we got started on this final step we just opted to go with a simple “shoelace” type bow.
5) Give the mason jar cookie mix bridal shower favors away! Trust me, you’ll want to make extras to take into work, give to neighbors or just stare at for awhile.
Where to Buy Mason Jar Cookie Mix Favor Supplies (By Popular Demand):
Love Beyond Measure Spoon Set – Stainless Steel Measuring Spoons in Gift Box, 1 piece
Ball 1 Qt. Mason Jars – Ball Regular Mason Canning Jar 1 Qt., Case of 12
Ball WIDEMOUTH (Makes for Easier Scooping) 1 Qt. Mason Jars – Ball Wide-Mouth Mason Canning Jar 1 Qt., Case of 12
Kerr WIDEMOUTH (Makes for Easier Scooping) 1 Qt. Mason Jars – Kerr 0519 wide mouth jar quart, 32oz
